
Are you looking to create your very own homemade toner? You are in the right place. In this guide, I share exactly how to make toner at home. Many people are looking for a good acne toner DIY and my recipe contains ingredients that can help.
A homemade facial toner is a combination of ingredients that are used for a number of reasons. Toners are great for freshening the skin, removing any leftover makeup after cleansing, and priming the skin for serums and moisturisers.
Some homemade toners may contain astringent ingredients like alcohol or witch hazel but these ingredients can be irritating and strip the natural oils from your skin. I like to use softer ingredients for my face toner at home.

Since my journey into natural skincare began I have wanted to try making my own natural facial toner. Although some of the required ingredients in this recipe are not products you will typically have on hand, they are cheap and easy to obtain.
A DIY toner for acne prone skin is a good way to absorb excess oils from your skin which can benefit those with oilier and acne prone skin types. But even dry skin types will benefit from my hydrating toner containing aloe vera and flower water.
My best homemade toner for face is a water based product and because of this, does require preservatives to make sure bacteria does not grow. However do not fret- I have you covered. The preservatives in this recipe are natural and will ensure you are keeping your toner fresh and bacteria free.
In this guide, I will be taking you through all you will want to know about making your own homemade toner for face, so lets get started and make a toner!
What Is A DIY Toner?
A toner is a mixture of ingredients that are used to clean, freshen and hydrate the skin. Some toners will feature astringent ingredients, such as alcohol. However, my dry skin prefers a softer hydrating toner with ingredients like aloe vera and glycerin.
A toner is a product that is designed to reduce the appearance of pores, cleanse the skin by removing excess makeup, dirt and oils and to refresh the skin. They are usually applied to dry skin right after cleansing the skin and before moisturising.
Toners can be easily applied with cotton rounds on to the skin and will provide a very refreshing and cooling feel. They are a common product used in many individuals daily skincare routines and help to ensure the skin is fresh and clean.
 Pin
PinWhat Does An At Home Face Toner Do?
A face toner homemade is going to provide you with hydration. It is soothing and works as a great primer for applying serums and moisturisers. It will help to reduce the appearance of your pores, remove any excess make up, dirt or oils and leave your skin feeling refreshed.
DIY acne toner is a popular skincare choice for those with oilier skin as it helps to reduce the excessive oiliness and bacteria on the skin.
Why Make A DIY Facial Toner?
There are plenty of reasons you should make a natural skin toner recipe and I have listed some of these below.
All Natural
One of the greatest benefits of making your own skincare products like a facial toner is that you can make it all natural and free of synthetic additives.
Refreshes And Cleanses
This facial toner is a great product for removing excess oils, dirt and makeup on the skin. It cleanses and refreshes the skin and is a great product for keeping oilier skin types balanced.
Simple And Easy
Making my best homemade toner for dry skin is totally simple and easy. It is trickier than some of my other recipes, but it is still simple.
Helps Other Products Absorb Easier
Using a toner is a great base for applying other products like serums or moisturisers as the toner helps the skin to absorb other products easier.
Makes A Great Gift
Homemade facial toner makes a fun little gift for friends and family and can introduce them into the world of natural skincare.
 Pin
PinIngredients For The Best Homemade Toner Recipe
One of the best things about this DIY toner for face is that you don’t need many ingredients to make it, and these are all easy to buy online. So don’t be freaked out by the names you haven’t heard of before. You can simply buy them and use them without worrying about it.
eBay and Amazon Australia are quick and easy places to buy ingredients and all the gear you need. Below, I direct you to the best place to buy each ingredient or you can click here to buy now on Amazon or here for eBay. This is how I buy all of these ingredients.
Chamomile Hydrosol
 Pin
PinChamomile hydrosol is chamomile water and it is the natural byproduct during the distillation of chamomile essential oil. The qualities found in chamomile hydrosol are therefore similar to that of chamomile essential oil just in a milder form. It is very soothing, relaxing and can soothe inflammation and redness.
When purchasing your chamomile hydrosol or whatever flower water you want, ensure you are buying a true flower water. True flower waters/hydrosols will only contain flower water followed by a possible preservative. If the first ingredient listed is simply aqua (water) and/or it contains alcohol it is not a true flower water.
Keep in mind although flower water will often contain a preservative, because we are using additional ingredients we need to use extra preservative.
It’s not essential to use chamomile hydrosol. If you want to make a DIY rosewater toner instead, simply switch this to rose hydrosol and voila! You have a homemade rose water toner.
Click here to buy it on eBay now.
Aloe Vera Juice
 Pin
PinAloe vera juice has long been a popular ingredient in skincare, it is great as an ingredient in skincare products and used all on its own and a great ingredient in my homemade skin toner.
It is totally nourishing and soothing for your skin, and it is super cheap and easy to source. Aloe vera juice contains high levels of anti inflammatory properties and is great for treating redness, rashes and burns.
It contains antioxidants, vitamins A, C and certain enzymes that have cooling, soothing, softening and hydrating effects on the skin. It can also be used to treat dry skin and acne.
Aloe vera juice works well in this facial toner as it contains astringent properties that help to remove the excess oil on your face, it can also tighten and tone the facial pores.
To get an extended shelf life out of the aloe vera juice it is better to purchase it than to make it homemade. Another option is to buy concentrated or dried aloe vera powder. The recipe would just need to be adjusted to fit these concentrated forms.
Click here to buy it on eBay now.
Glycerin
 Pin
PinGlycerin is another popular, cheap and easy skincare product to find for your skin. It is great for helping to keep the skin moisturised as it is a humectant, meaning it attracts water from the air to your skin.
Glycerin is sweet and mild in taste and very sticky, making up only a small percentage of the ingredients in this recipe as a little goes a long way with this stuff.
Glycerin is a good product for providing hydration to oily skin types as it draws water from the air to your skin which means it hydrates the skin without making it greasy or oily.
Click here to buy it on eBay now.
Xanthan Gum
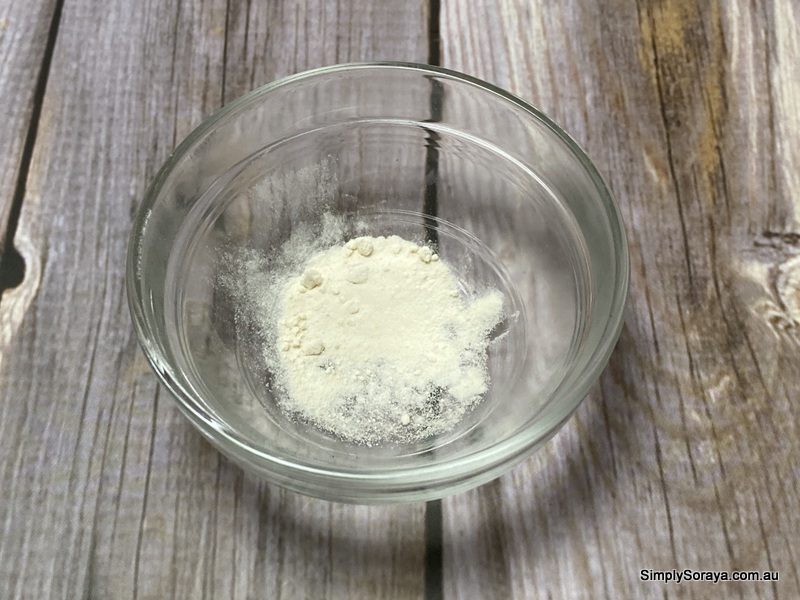 Pin
PinXanthan gum is a natural gum that is produced from the fermentation of sugar. It is used a lot in packaged food and the food industry to thicken food and in skincare it can be used to make a gel like texture that will also slightly thicken this toner.
It feels super smooth and luscious on the skin and this recipe only requires a small amount, making up only a very small percentage of the recipe.
Click here to buy it on eBay now.
Essential Oils?
While I love essential oils, you should not use them in this recipe. This is because this is a water based recipes and essential oils are, well, oils. They won’t mix with water and they won’t work in this toner.
However, hydrosol, so the chamomile hydrosol above, is what is left when distilling essential oils and is a less concentrated version of an essential oil. So if you want something specific, like a DIY tea tree oil toner, don’t add tea tree essential oil and instead, you can use tea tree hydrosol.
Do You Need A Preservative?
 Pin
PinYes. As soon as you are using any ingredients which include water, as is the case with this DIY toner recipe, you need to use a preservative. This is because there are waterborne bacteria and microbial contamination that can occur when you use water based ingredients.
You may have looked at other skin toner recipe options online that don’t bother with a preservative and you can chose not to (in which case, make the recipe as below leaving out sodium benzoate and potassium sorbate). However, I recommend you don’t do this as there is a risk of bad bacteria growing in your toner.
Whenever you make any skincare product with water-based ingredients, you should use a preservative,
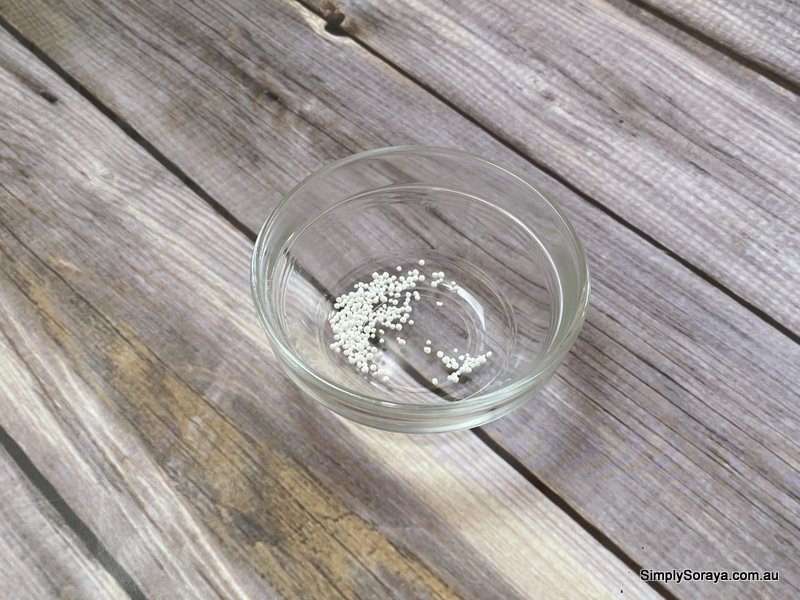
Sodium Benzoate And Potassium Sorbate
 Pin
PinYes, these ingredients may sounds a little intimidating but they are safe, natural and easy to use in your skincare. I recommend you use a mixture of the two preservatives above because:
- Both are natural preservatives. There are limited choices when it comes to using natural preservatives and these chemicals are easy to use and natural.
- You can easily purchase these preservatives in Australia on Ebay. Other natural preservatives that could be used in this recipe are not as easy to find.
- Both natural preservatives are odourless, water soluble and clear when dissolved and are best used when the product it is being added to has a pH of less than 5.5.
Click here to buy potassium sorbate on eBay now or here for sodium benzoate (also on eBay).
How To Make Homemade Face Toner
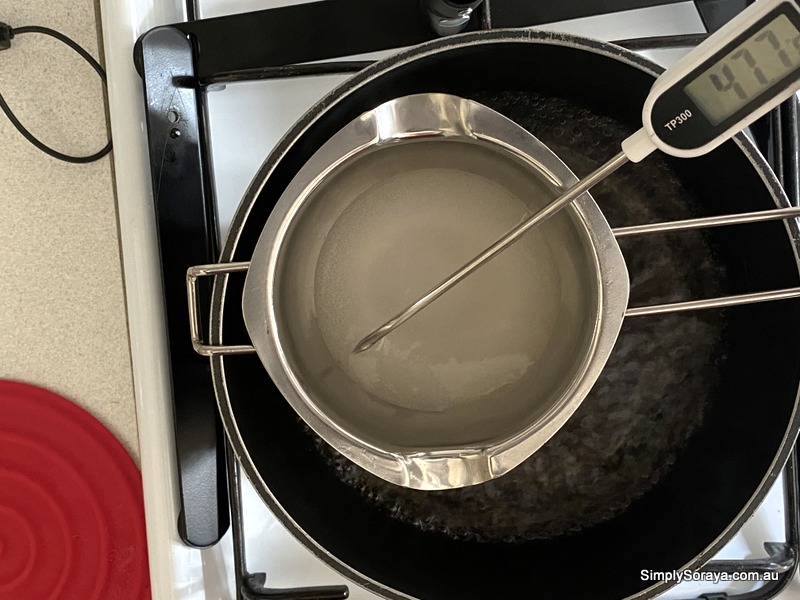
I’m not going to lie, this is one of my trickier recipes as you have to heat the ingredients to a certain temperature and keep them there for 20 minutes. As someone who likes things mega simple, I nearly avoided using these ingredients all together to avoid this process.
Click here to buy a thermometre now.
 Pin
PinHowever, I am glad I didn’t as it is still quite a straightforward recipe. Just realise from the beginning that it’s not as easy as mixing a few things together like some of my oil-based recipes.
It’s important when you make this DIY chamomile toner to mix the exact ingredients together as I detail below and not to mix them all together. When you heat it, it’s also important to use some type of cover so that none of the goodness in this homemade face toner recipe evaporates.
 Pin
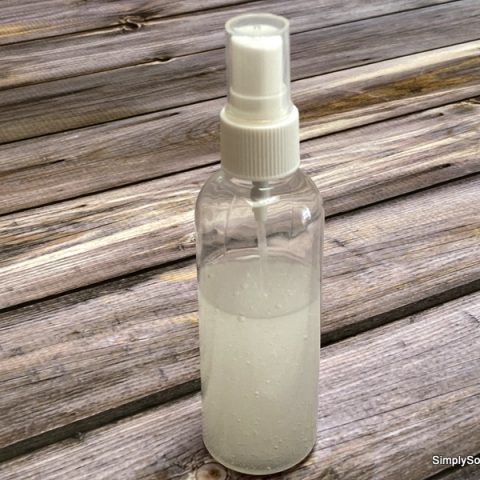
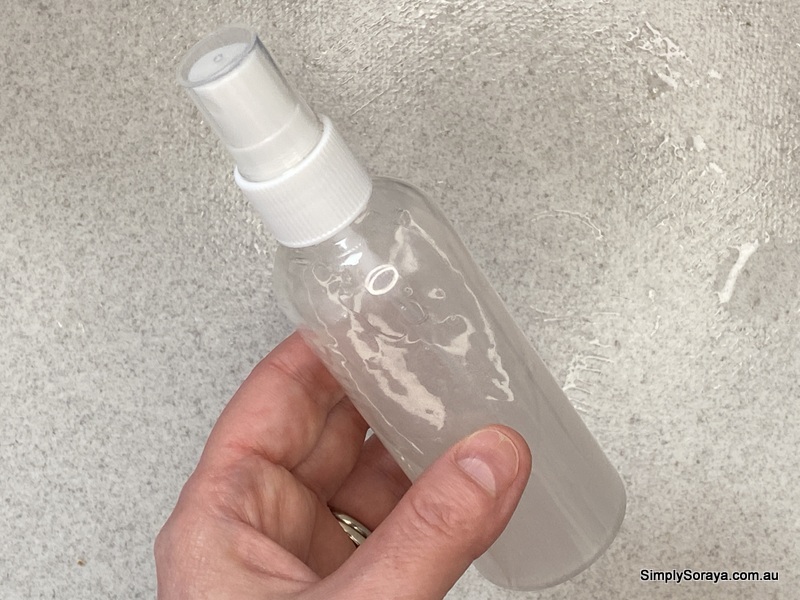
PinI recommend you keep the end product of this natural face toner recipe in a bottle for easy application.
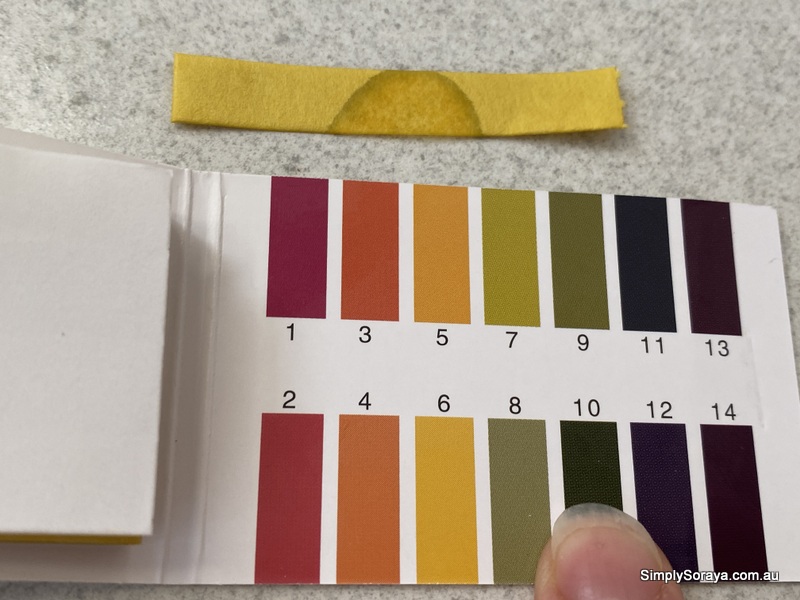
Do You Need To Test The pH Of Your Face Toner DIY?
This step can feel a little bit tricky when you are creating your facial toner, but trust me, it is super simple.
 Pin
PinThis is an important step as the preservatives are only going to work within a certain pH range. This facial toner recipe is going to need to be a pH of around 4-5.5, which it will be, but it is worth while checking to reduce any risk of bacteria formation.
All I do is place one drop of the toner onto these pH strips on eBay before I tip the mix into a spray bottle.
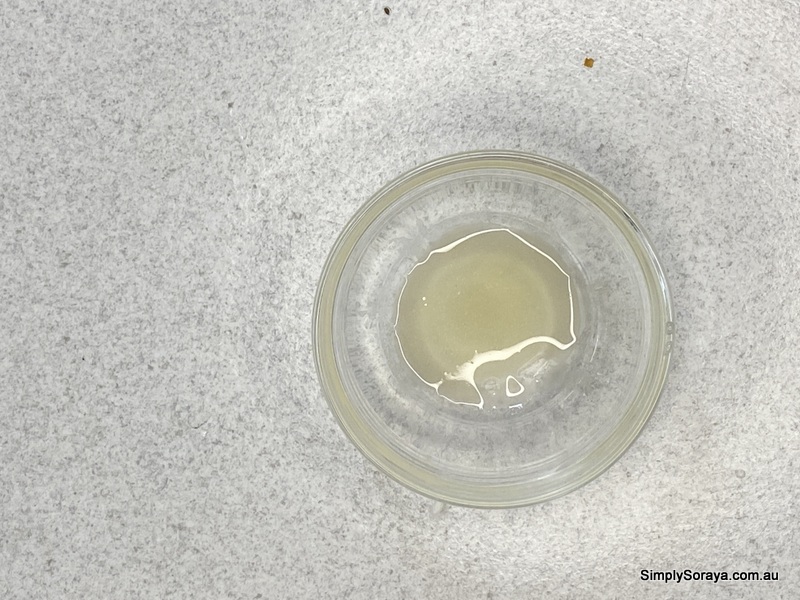
Soothing Chamomile Toner Recipe
This natural toner recipe is great for removing your makeup while being gentle around the eyes. It's especially good after our cleansing oil leaving you with smooth, natural skin with a great scent.
Ingredients
- 87g Chamomile Hydrosol
- 10g Aloe Vera Juice
- 2g Glycerine
- 0.5g Xanthan Gum
- 0.2g Potassium Sorbate
- 0.3g Sodium Benzoate
- 100mL Bottle
Instructions
- Weigh and mix together the chamomile hydrosol, potassium sorbate and sodium benzoate
- Stir until dissolved
- In a separate container, mix the glycerine and xanthan gum until uniform with a spatula/end of spoon
- Mix the hydrosol mixture with the glycerine mixture until combined
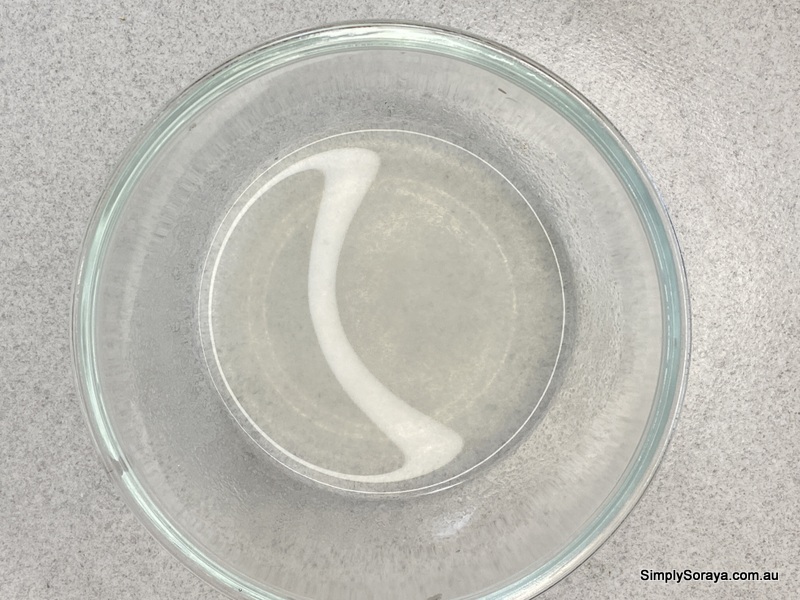
- Cover and heat this mixture to 70 degrees Celcius. I use a double boiler and a silicone cover (watch in video below)
- Keep it at this temperature for 20 minutes so the xanthan gum fully hydrates
- Remove from heat
- Blend for 30 seconds with a stick blender
- Cool to 40 degrees while stirring
- Add the aloe vera juice and stir
- Test the pH to make sure it falls between 4-5.5
- Pour into a bottle using a funnel
- Enjoy!
Notes
While it's not mandatory to check the pH of your new homemade natural face toner, it's the only way to be sure that your mist is the right pH so that the preservative will work.
How To Use DIY Face Toner
Once you have made your DIY facial toner, it is time to use it!
To use your DIY acne toner, cleanse and dry your skin and then apply to the face with a makeup pad or cotton wool and sweep it over your face and neck, concentrating on the T zone. Avoid your eyes.
You can then follow this up by applying your regular serum or facial moisturiser.
 Pin
PinFinal Words
I hope you have enjoyed this guide to making your very own homemade facial toner. Whether you are looking to create a DIY toner for sensitive skin, a DIY toner for acne or you just want to see what it’s like, I hope you give it a try and are feeling inspired.
This facial toner is a great product for refreshing, hydrating and cleansing and I hope you enjoy it!
Want to learn more? Click here to learn how to make my moisturing face mist. You can also find my DIY cleanser here and facial oil here. All of these pair great with this toner. Find all my DIY skincare recipes here.
As an Amazon Associate I earn from qualifying purchases.