
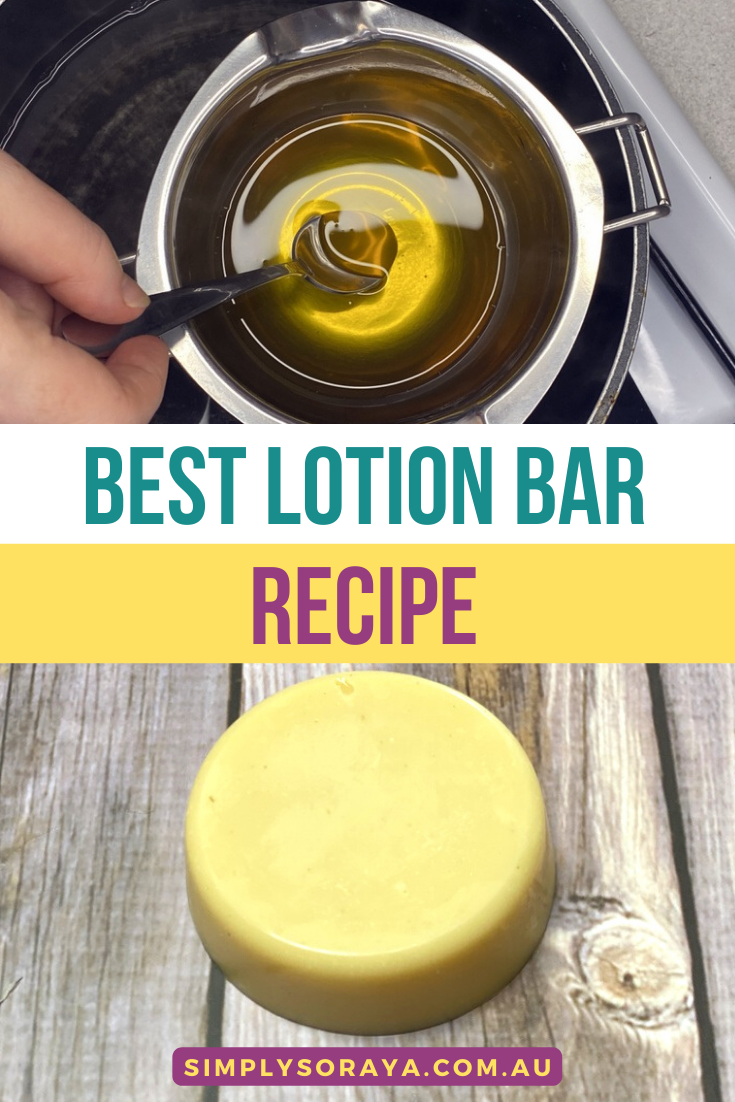
A lotion bar is a great way to relieve dry and cracked skin. They are simple to make and only require a few ingredients. During the colder months, my dry skin needs quick hydration and I am not keen on all the chemicals and unnatural additives found in typical lotions.
Making lotion bars is simple and easy and they feel totally luxurious on the skin. They are nourishing, protective and moisturising. A natural lotion bar is simply a combination of natural butters, oils and wax which are melted and poured into molds to set solid at room temperature.
Making lotion bars with beeswax is a great way to ensure these easy lotion bars stay solid at room temperature. The butters also work to make it firm and you could choose to use a higher quantity of butters and less or no wax to have the same effect.
However homemade lotion bars with beeswax give a firmer texture and create a protective barrier on the skin (beeswax is an occlusive agent). Cocoa butter and shea butter melt as they touch the skin and although they are occlusive agents, both butters absorb pretty quickly into the skin and aren’t going to provide as thick of a barrier as beeswax will.
If you live in a hot climate, you may need to slightly increase the amount of beeswax and decrease the oil in this easy lotion bar recipe. However, you may find the ratio perfect, it all depends on how extreme the weather is where you live.
I live in Melbourne and made this lotion bar recipe with beeswax during the warmer weather and have found them to work great. This simple lotion bar recipe will be perfect for climates anywhere from cool to warm.
These DIY beeswax lotion bars also require no preservatives as they are oil based and make the perfect natural and chemical free skin care product. The recipe below creates a creamy peppermint chocolate fudge bar like lotion bar. So good!
In this guide, I will be teaching you how to make a lotion bar with beeswax – quickly and easily and other useful information you will want to know before making your DIY solid lotion bar.
So, lets get started and make this easy lotion bar recipe!
What Are Handmade Lotion Bars?
Homemade lotion bars are a combination of natural butters, natural oils, beeswax and optionally, essential oils.
A homemade lotion bar recipe is made by simply melting the above ingredients, pouring them into molds and letting them set at room temperature. A lotion bar is generally made with oils that are quickly and easily absorbed into the skin.
Lotions bars are solid at room temperature and melt upon contact with the skin. They contain no preservatives as they are oil based.
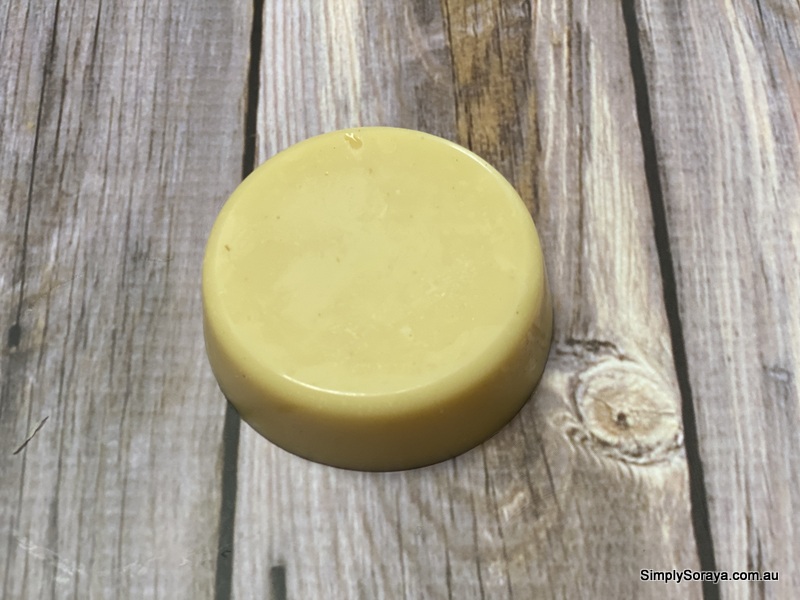
This DIY shea butter lotion bar is a good example of typical ingredients you would see in a lotion bar and for good reason. Each ingredient is very nourishing and moisturising for your skin and I go into more details about this further below.
 Pin
PinWhy Make A Body Lotion Bar Recipe?
There are plenty of reasons why you should be making your own DIY lotion bars with shea butter and I go through these below.
Quick And Easy
Making your own luxurious lotion bar recipe is really simple and easy and won’t take you much time.
Nourishing And Moisturising
The ingredients in my homemade lotion bars are very nourishing, moisturising and protective for your skin. The ingredients contain anti-inflammatory and antibacterial properties which help to soothe and protect your skin.
Very Portable
Making a homemade lotion bar is a great idea if you need quick hydration on the go. Your lotion bar can be placed in brown paper and taken anywhere with you and quickly applied in seconds for deep hydration.
Eco Friendly
Making lotion bars is a much more eco friendly option than continuously purchasing plastic lotion bottles.
Natural And Chemical Free
One of the best benefits to making your own DIY lotion bar is that you know the ingredients are totally natural and chemical free, giving you peace of mind that you are treating your skin with goodness.
High Quality At Lower Cost
This DIY lotion bar contains ingredients that are of high quality. When making your own, it is also a more cost effective solution than purchasing similar products as they can be super pricey. So for the same price, you’ll be able to make loads more.
Can Help Dry Skin Conditions
The ingredients in my homemade lotion bar are super nourishing, soothing and protective for the skin and can help to relieve dry skin conditions like eczema and psoriasis.
What Are The Best DIY Lotion Bar Ingredients?
One of the best things about this easy beeswax lotion bar recipe is that you actually only need a few ingredients to make it work. You don’t have to use the exact butters, wax and oils I mention below and can really use any that suit your skin and give you results.
I give you some alternatives below so if you want a DIY lotion bar without beeswax (for example, a vegan lotion bar recipe), you can do this.
eBay and Amazon Australia are quick and easy places to buy lotion bar supplies and all the gear you need. Below, I direct you to the best place to buy each ingredient or you can click here to buy now on Amazon or here for eBay. This is how I buy all of these ingredients.
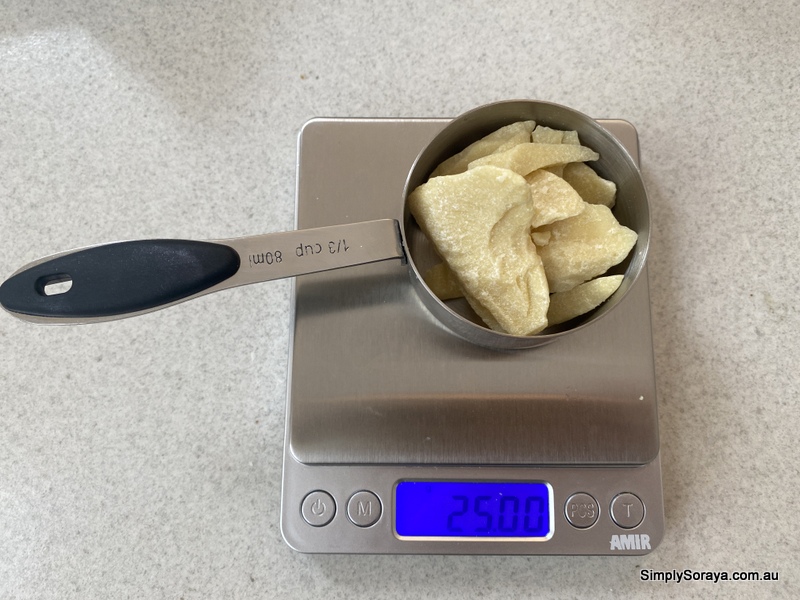
Cocoa Butter
 Pin
PinCocoa butter is a great option for those with dry skin. It helps to create a moisturising and nourishing lotion bar that is filled with essential fatty acids, antioxidants and vitamins – all of which are great for the health of your skin.
Cocoa butter is easy to apply onto the skin and provides a soothing, smoothing and softening effect on the skin. It has a mild chocolate aroma and when applied onto the skin will provide a thin barrier that helps the skin stay hydrated (it’s occlusive). Cocoa butter is actually known for its emollient, humectant and occlusive properties.
Cocoa butter contains anti-inflammatory properties which is great for redness or rashes on the skin.
Cocoa butter works great in this lotion bar as it helps to keep it firm and has a soothing and smoothing effect on my skin with a richness that I love.
It is important to only use unrefined cocoa butter when making your lotion bar to ensure you are getting all the benefits. It is not always recommended for the oily and acne prone skin types as it can worsen these conditions.
If you don’t have cocoa butter, you can add extra shea butter instead or consider another butter like mango butter. I do love the smell of a cocoa butter lotion bar though! And it feels very good on the skin.
Click here to buy cocoa butter now.
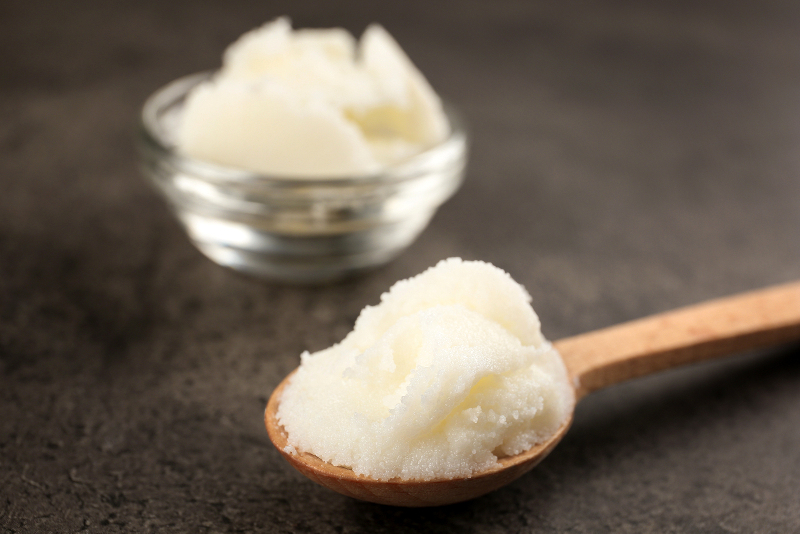
Shea Butter
 Pin
PinIf you struggle with dry skin, shea butter could be a great product for you. It is packed full of minerals, vitamins, fatty acids and antioxidants that help to soften, moisturise and soothe your skin, leaving it protected and nourished.
Shea butter melts upon contact with your skin and is easy to apply on the skin for this reason. It is another all-rounder being an emollient, humectant and an occlusive agent.
Shea butter also contains anti-inflammatory qualities which help in times of skin redness and rashes.
If you have oily skin or acne prone skin, it is not always recommended to use shea butter as it can be considered comedogenic (can clog your pores).
Personally, shea butter is a favourite of mine, it provides a rich and creamy consistency and has many benefits for my dry skin. Make sure you are always purchasing unrefined shea butter.
If you don’t have shea butter, you can add extra cocoa butter instead or consider another butter like mango butter. This shea butter lotion bar recipe does work well though and has a great consistency so use it if you can.
Click here to buy shea butter now.
Coconut Oil
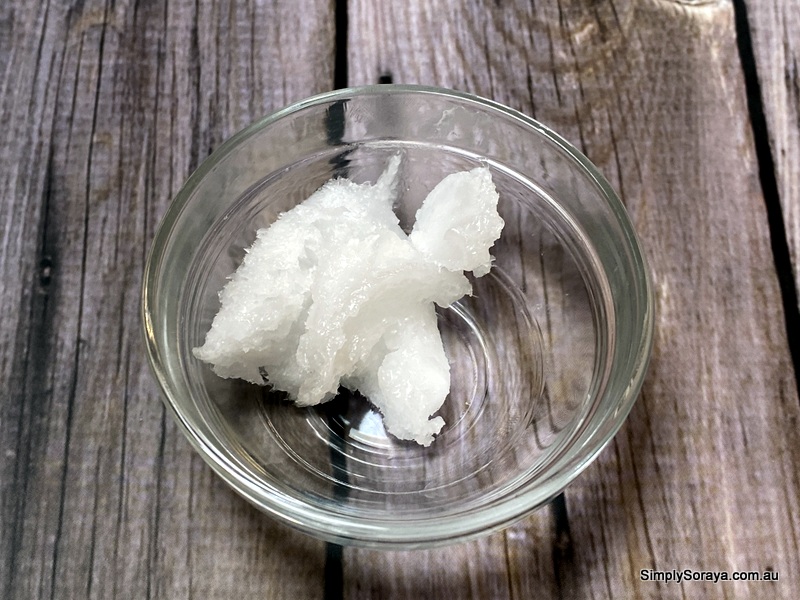 Pin
PinCoconut oil is a total favourite amongst those who use it. I personally love coconut oil as it is totally natural, nourishing and versatile. It is also handy in this lotion bar.
Coconut oil contains essential fatty acids, mainly lauric acid which holds anti-fungal and antibacterial qualities which can help keep the skin free of infections.
Coconut oil contains proteins and vitamin E that provide healing, nourishment and hydration to the skin and it is good for helping repair damaged skin.
This coconut oil lotion bar recipe works great and I love the smell of the coconut oil in this mixture. However, if you want a lotion bar recipe without coconut oil, you can substitute this for another oil like almond oil, sunflower oil or any you love on your skin.
Click here to buy coconut oil now.
Beeswax
 Pin
PinThe beeswax in this lotion bar recipe is essentially used to solidify the lotion into a bar. It is especially good if you live in a warm or hot climate as the butters alone in this recipe can melt in hot climates.
Beeswax is used in all kinds of skin care products from sunscreen to makeup, lip balms, moisturisers and more.
Beeswax is also an awesome product for the health of your skin. It holds plenty of cosmetic and medicinal value and works as an emollient, a humectant and an occlusive agent. It’s another all rounder. Beeswax also works as a natural exfoliant – so i guess you could even call this an exfoliating lotion bar recipe.
Beeswax is great at soothing, calming and hydrating the skin, and it can help with a number of skin concerns. It can aid in the repair of wounded or damaged skin, aid skin regeneration, it can help soothe irritated skin and it creates a long lasting layer against pollutants entering the skin.
Beeswax also holds antioxidant and anti-inflammatory qualities that can help individuals who experience dry skin conditions such as eczema or psoriasis.
You can vary the amount of beeswax in your lotion bar to make it either softer or harder, depending on the climate you live in and your personal preference. If you live in a hot climate, adding more beeswax can make sense.
If you want a lotion bar without beeswax, you can use another wax like candelilla wax or jojoba wax instead to make a candelilla wax lotion bar recipe. If you do this, the recipe below will make DIY vegan lotion bars as beeswax is the only ingredient that isn’t vegan.
You can also leave out this ingredient if you wish and add more butter instead. However, if you live in a warmer climate, you may find that your coconut oil lotion bars struggle to stay solid without a wax.
Click here to buy beeswax now.
Peppermint Essential Oil
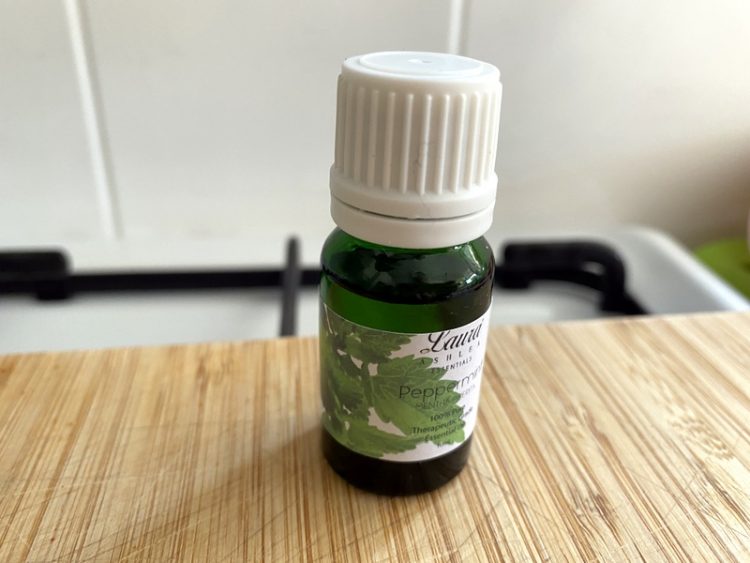
You can choose to switch the peppermint essential oil in this lotion bar recipe to another of your choice, however I love the combination of peppermint and rosemary essential oils in this recipe.
This peppermint lotion bar has plenty of benefits to offer your skin, it can increase blood flow to the skin, it can relieve pain and it can help to reduce inflammation.
It can hydrate and soothe dry skin without feeling greasy on the skin. It is also quickly absorbed into the skin and will provide a long lasting effect which is lovely and cooling and can help to focus the mind. Plus, I love the smell. It is totally invigorating and gives me energy.
Click here to buy peppermint essential oil on eBay now.
Rosemary Essential Oil
Looking for the best essential oils for lotions bars?
If you have been looking for essential oil combinations for lotion bars, peppermint and rosemary make a great match in my opinion.
Rosemary essential oil is a popular choice in skincare and aroma therapy. It is great for promoting memory, relieving stress and muscle soreness.
Rosemary oil is an astringent that helps to tone and balance the skin. Using rosemary oil topically on the skin can help to remove the oil and dirt that can cause breakouts without disrupting the skins’ natural oil production. Rosemary oil also contains antimicrobial properties that can help reduce future breakouts.
Note that these essential oils have specifically been chosen to make DIY body lotion bars that are best to use in the morning and afternoon. They’ll help sharpen your mind and wake you up. If you want to make a solid lotion bar recipe that is relaxing and calms the mind, you could switch these oils to lavender essential oil (on eBay) and/or ylang ylang (on eBay).
Click here to buy rosemary essential oil on eBay now.
How To Make Your Own Lotion Bar
It is super simple to make your own homemade lotion bar, it really couldn’t be easier. The recipe below creates a creamy peppermint chocolate fudge bar like lotion bar. So good!
First, I recommend you collect everything you need before beginning to make it a smooth process, having your ingredients and molds ready to go.
 Pin
PinThen you basically just melt and mix everything together. So easy!
I recommend you use a double boiler to do this. I bought mine on eBay here.
Exactly the right amount of ingredients to make a DIY lotion bar recipe that is solid at your room temperature but melts nicely on the skin will depend on your climate. I recommend you follow the below homemade lotion bars recipe exactly and if you find that it’s not as solid as you would like, next time add a couple of grams extra of beeswax and a couple less grams of the coconut oil.
Conversely, if you live in a colder climate, perhaps you will find it’s too hard. In this case, add a little less beeswax and a little more coconut oil.
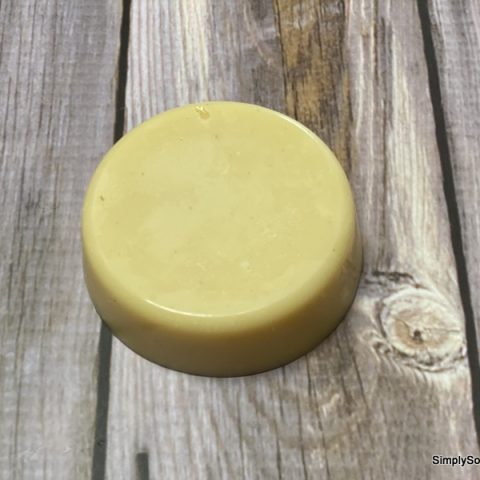
 Pin
PinI recommend a silicone mould (like this) for setting your lotion bar. It’s nice and easy.
Make sure you store your body lotion bar DIY in a cool and dark place so it doesn’t melt at all between uses.
Peppermint Chocolate Fudge Lotion Bar Recipe
Want softer, healthier skin? Then try this fantastic and easy best lotion bar recipe. It only takes minutes to make and is all natural. The peppermint and rosemary essential oils mean that it's best to use in the morning when you need to wake up and be more alert. The chocolatey scent of cocoa butter and the texture will give you the luxurious feeling of rubbing fudge on your skin.
Ingredients
- 25g Cocoa Butter
- 10g Shea Butter
- 9g Coconut Oil
- 5g Beeswax
- 0.5g Peppermint Essential Oil
- 0.5g Rosemary Essential Oil
- Double Boiler
- Mould
Instructions
- Have all ingredients weighed and ready to go
- Set up your double boiler or pan and heat-safe bowl with water on a low heat
- Add the cocoa butter, shea butter, coconut oil and beeswax
- Stir gently until everything is melted and well mixed. This usually takes a few minutes
- Turn off the heat and allow to cool a little (but not solidify) while still stirring
- Mix in the peppermint and rosemary essential oils
- Pour it into your mould
- Let your new lotion bar completely set. You can carefully move it to the fridge to speed this up
Notes
This recipe only makes one or two lotion bars depending on your mould size. If you want to make more, you can double or triple the ingredients. The main thing to ensure is that you never use more than 2% essential oils.
How Do You Use A Lotion Bar?
When you want to use these easy DIY lotion bars with beeswax, simply rub them straight on to your skin.
The warmth of your skin will help melt and apply the lotion as you rub. So good!
These are designed to use on damp (after showering) or dry skin. If you want an in shower lotion bar recipe, you can still use these. However, it’s best to keep your lotion bar away from water if you can.
There are no preservatives in this best homemade lotion bar recipe to keep it as natural and kind to your skin as possible which means if water enters the bar, it can expire more quickly.
These homemade body lotion bars don’t just have to be used on your skin. You can also use them as a solid hand lotion bar or a face lotion bar recipe.
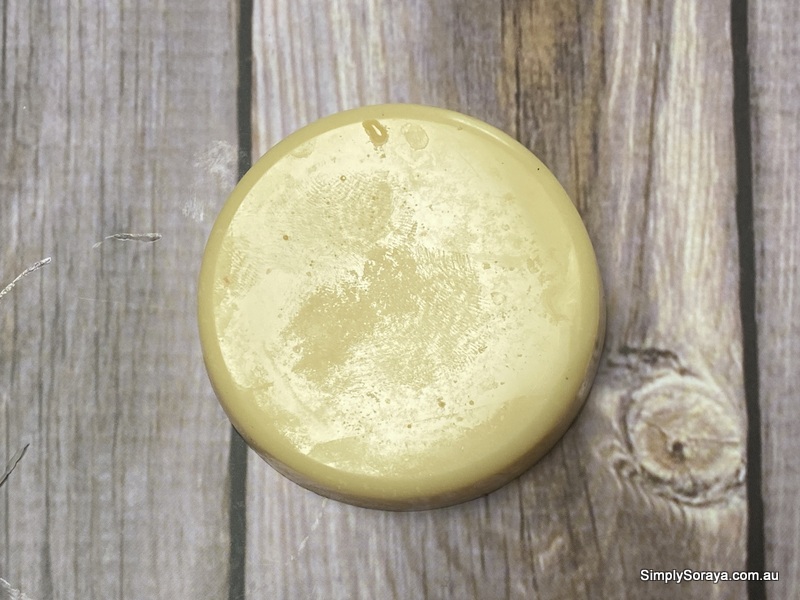 Pin
PinFinal Words
I hope you have enjoyed this guide to making your own quick and easy lotion bar. Whether you choose to make the essential oils lotion bars I have provided or customise your bar with other ingredients like a lavender lotion bar recipe, I hope you enjoy the outcome.
I personally love using my lotion bar, it is super nourishing and moisturising and my skin loves it.
Want to learn more? Click here to learn how to make your own body balm or here for lip balm. You can also find all our DIY skincare recipes here or try this massage bar recipe for a fun twist on this lotion bar.
As an Amazon Associate I earn from qualifying purchases.